
Today's nail art is a fun way to to get really colorful without necessarily needing a lot of skill or kit. When I realized that this month's TriPolish colors are basically the primaries, it occurred to me that I could use just three polishes to get a full rainbow spectrum on the nail, and so I present to you these super easy sponged rainbow nails.

Okay, technically I may have lied to you a little bit. This look wasn't strictly created using only three polishes - I used four in total, if you include the white base that I built up from.
 |
| L-R: Pure Ice Superstar!, Sephora by OPI Slushied, China Glaze Naked, LA Colors Shock |

I also added these little holographic silver studs after the fact to add the oomph factor. I'm going to make a quick confession here: I'm really not sure where these came from. The envelope wasn't marked, and I've gone over all of my order emails, and I can't figure out if I ordered them or what. They came in a little package by themselves, so I'm totally flummoxed. EITHER WAY, I think they're awesome - they have a holographic film over the top and I thought that would play well with this nail art.
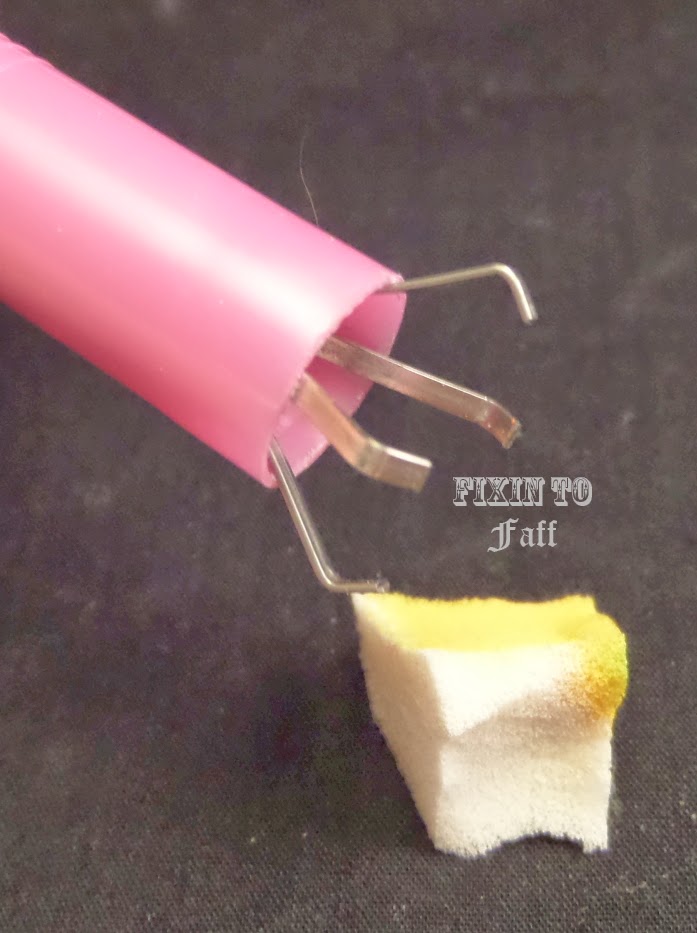
The other incredibly helpful component of the creation of this look is this magical instrument I bought at Sally's last month called The Claw. Originally my intention was to use this to clean my plates when I'm stamping, but I discovered that it worked GREAT for holding onto the tiny pieces of sponge here.

As you can see, it's a little thicker than a pen but about the same length. You just press the plunger at the top to make the wire prongs come out the bottom, and when you release the plunger, it hooks into the cotton ball, or in this case, makeup sponge piece.

This little baby saved me major frustration trying to hold onto the three tiny pieces of sponge I used in this nail art, so SHOUTOUT TO THE CLAW. Woohoo for multi-taskers!

Anyway... let's move back to creating this look, shall we? I started, as noted earlier, with two coats of Superstar! white. Then I took a makeup wedge that I'd previously used for gradients, and basically trimmed out all the dried polish cancers on it, leaving me with a mis-shapen but clean sponge, which I cut into three small pieces.

After mentally sectioning off my nails into thirds, I began by applying Shock to one section of each nail using a piece of sponge, staggering the placement so they wouldn't all look identical.

I followed suit with Naked, being sure to overlap some of the pink with the yellow to make an orange transition between those two sections. I finished by sponging on Slushied to the remaining third of each nail, overlapping with both the pink and the yellow borders to create purple and green transitions, respectively. Once I'd sponged on the first coat, I went back in with each color for a second coat, to really bring out the colors, and then pressed the studs into the still-tacky polish.

I sealed everything in with a coat of HKG. Normally I would've used SV, but since I've been testing my new topcoats, I discovered that not only does HKG not smear stamping, it also doesn't melt transitional sponge colors the same way SV does. When I'm doing gradients, obviously I want to make that transition as seamless as possible, but for this look I kind of wanted that tie-died, imperfect transition between each of the colors, and the HKG sustained the original look, whereas SV would've blended those polishes together a lot more, I think. #learnallthethings!
I really love this bright rainbow look. The studs are, of course, completely unnecessary if you want that sort of tie-dyed effect, but they were staring at me, all sad-like, going "it would be a shame to inexplicably receive us and then not use us on a bright colorful rainbow manicure," and of course I cannot say no to embellishments because, hey, embellishments, so Bob's your uncle.
Hope your week is off to a fantastic start. Be sure to check out the other new pink/blue/yellow looks from the Nail Tarts, and I'll see you tomorrow with another fun nail art challenge look!
Very pretty! Your sponge holding device looks scary, though. LOL!
ReplyDeleteThank you! Yah, I guess it does look scary, but OMG it's such a handy tool, especially when you're stamping!
Delete